Beginning Your Garden Plants Indoors

It is officially spring! Even though Mother Nature graced us with her wintry mix of rain, sleet, and snow this past Monday, we can still begin to make preparations for spring and summer gardening! Here in Southern Wisconsin, we were fortunate to have a week long heat wave, with temperatures reaching 74 degrees in some areas. I was able to get outside and begin raking and clearing left over fall debris from my garden and flower beds. It is really nice knowing I have that task checked off my list, despite the blisters and body aches that came along with the task completion. Last year, I bought half of my plants from local green houses, but this year, I decided to be a little most cost-conscious, and I bought seeds, organic soil, and biodegradable pots to begin my growing indoors. Although my cat, Oliver, decided to take a little tinkle on some of the tomato sprouts, the rest of my seedlings are off to a fabulous start! I was able to keep the plants outside during the day during our warm weather week, but I brought them in at night. Keep them indoors while seedlings are still small, until it feels warm where they are able catch some rays during the day. You can begin to leave them outdoors overnight when the temperature stays above 40 degrees at night. Here are a few photos and tips to help you get started growing your own plants, it is really quite easy, and will save you money in the long run!
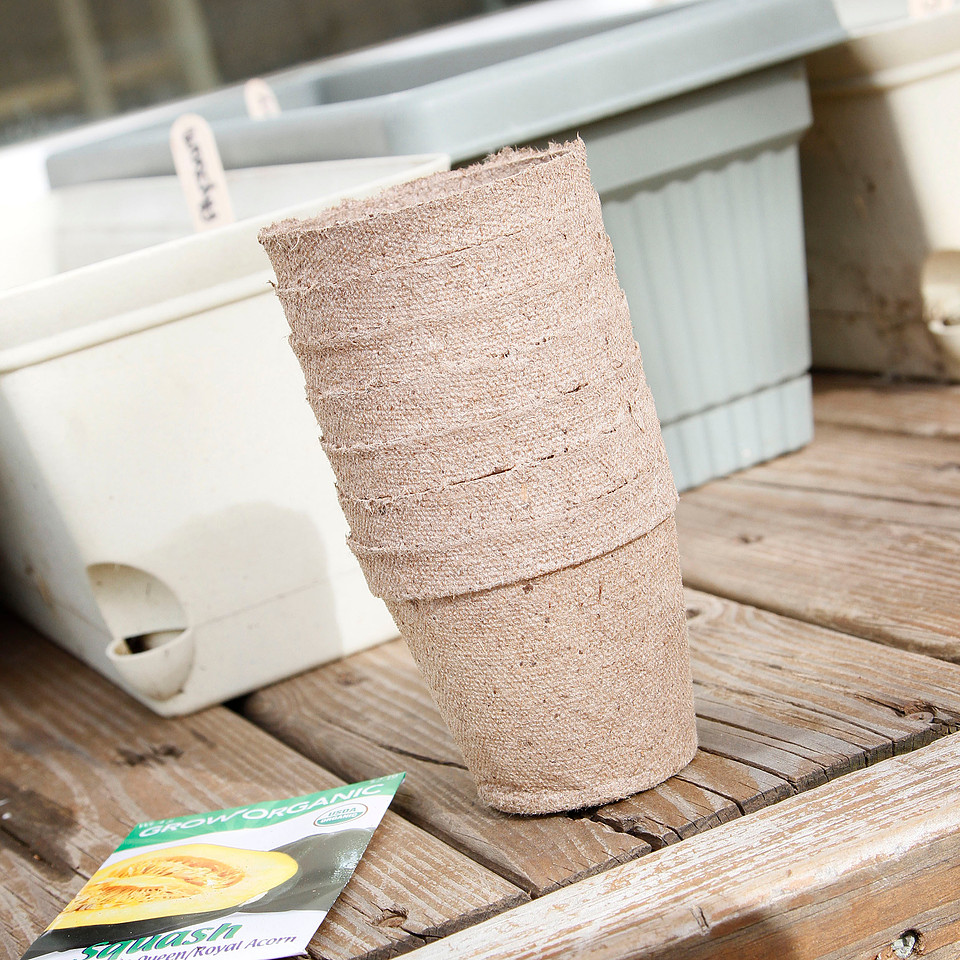
1. Begin by gathering what you need, dirt, containers, pots, gardening tools, and supplies for labeling your plants and containers. I love to use Jiffy pots, they can eventually be planted right into the ground with the plant to protect the root system. I typically will peel off the bottom before transplanting to let the roots grow downward, so beginning your plants in these containers are great. http://www.jiffypot.com/index.php?id=33

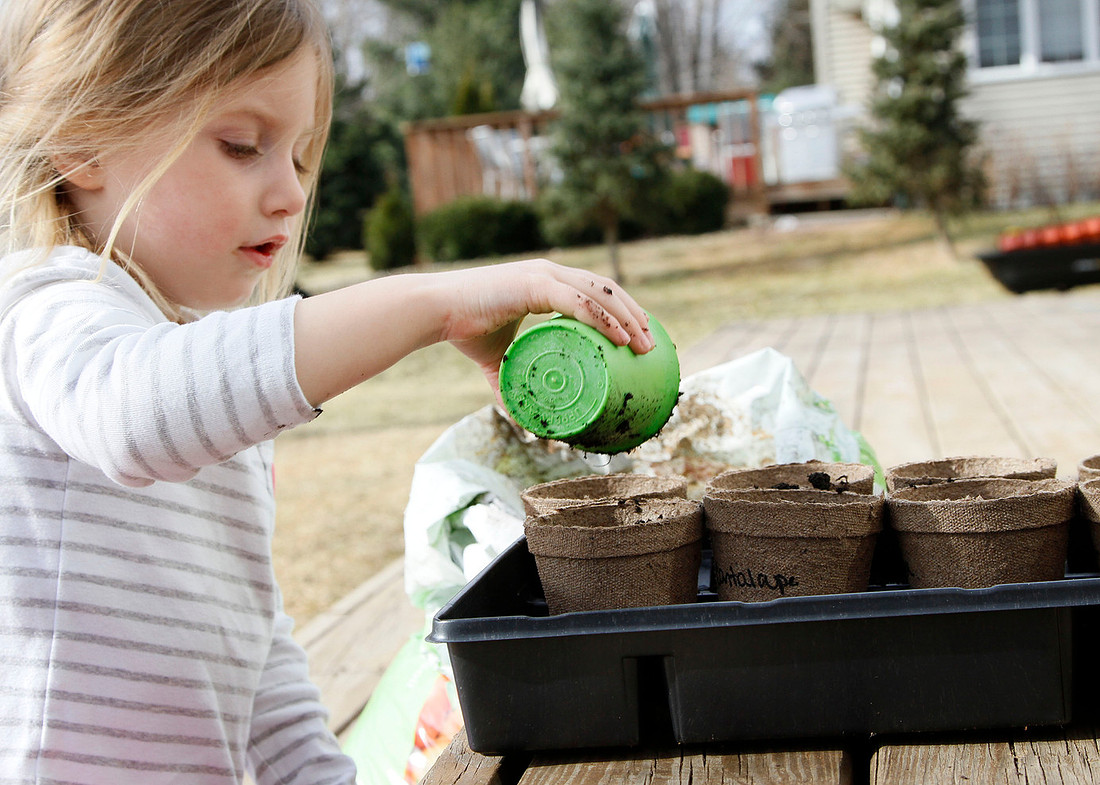
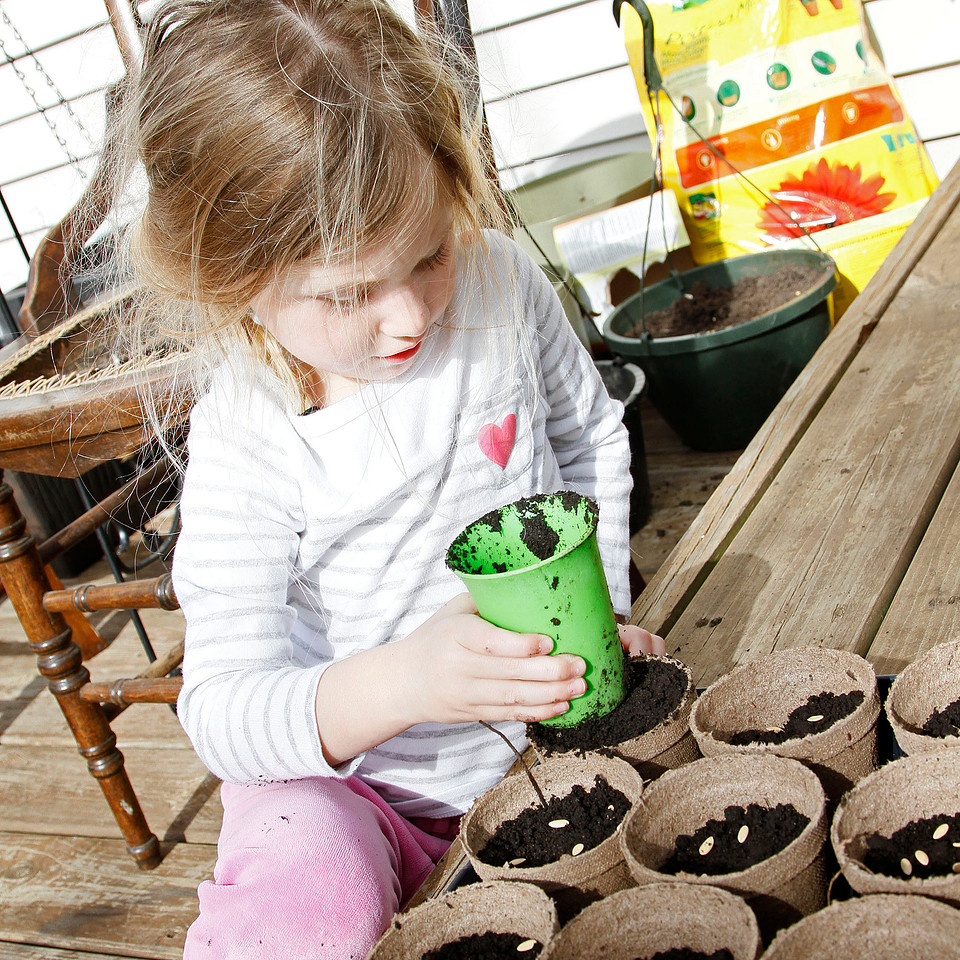
2. Next, solicit expert help. After you have labeled your pots, let your helper (preferably someone who loves to get dirty), fill them up. Typically fill them half to three-quarters full. Again, your helper must be an expert with dirt...
3. After you fill your pots, select the seeds you wish to plant, and read the label. Be careful when purchasing seeds, some require overnight soaking, while others are meant to be sown directly into your garden itself. So make sure to read the label--it will also tell you how deep they need to be planted within the pots, and how long they can remain in the pots before being transferred to your garden.
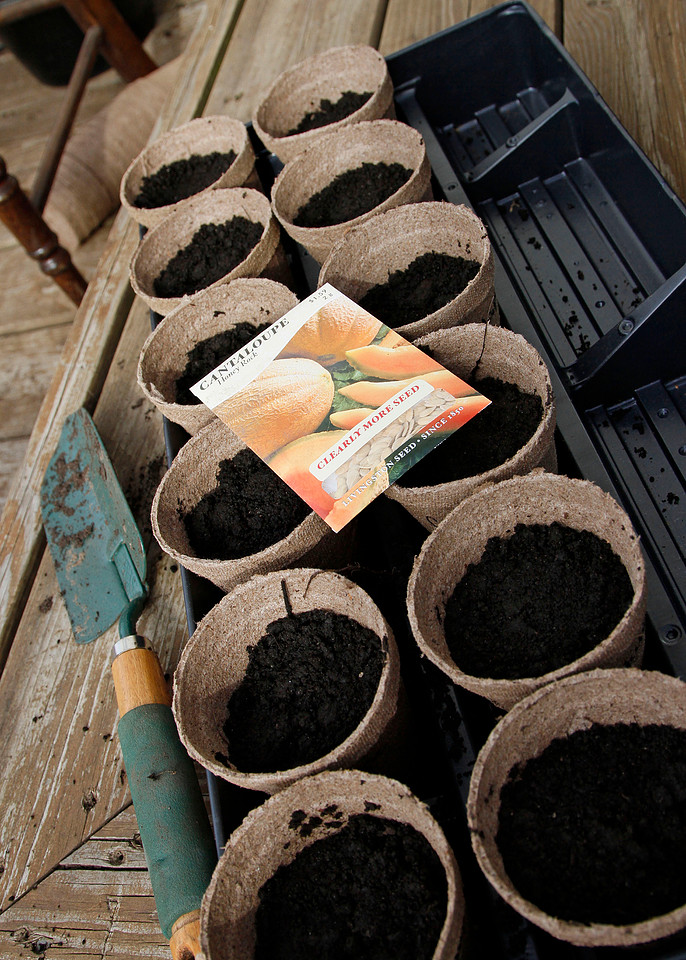
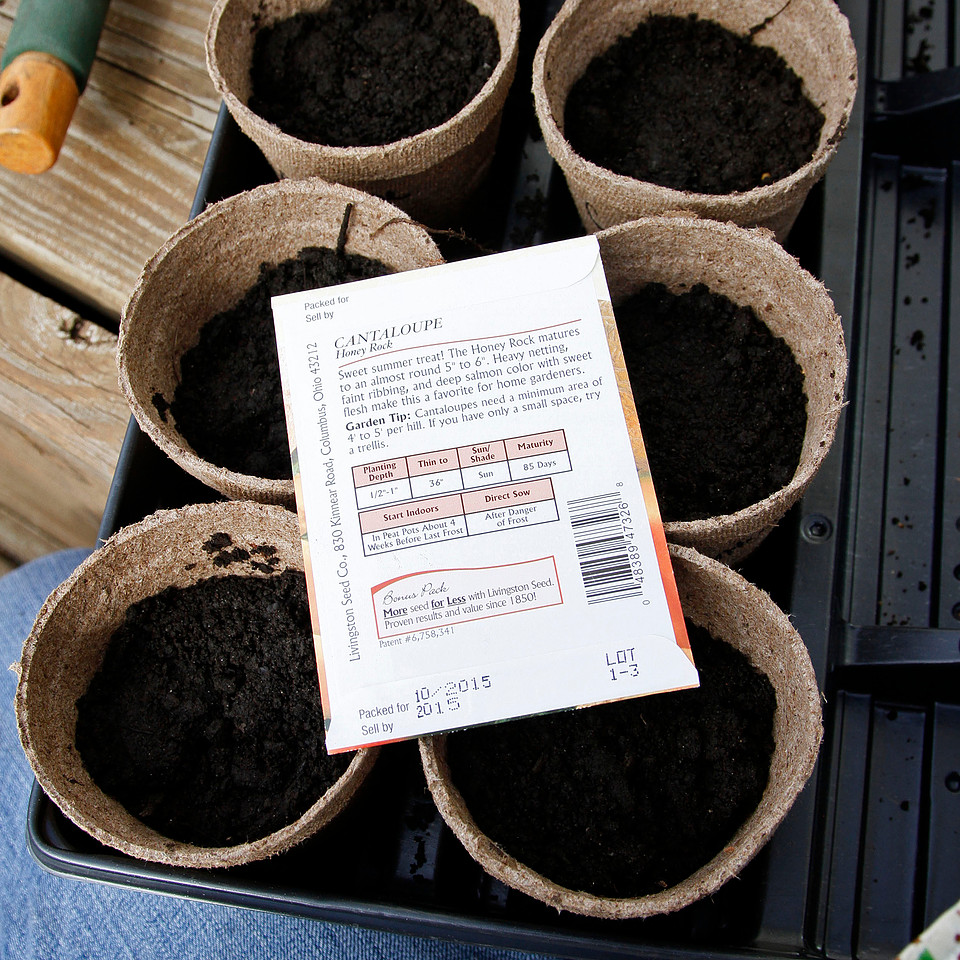
4. Count out your seeds, and divide them equally among your pots. I typically use 4 to 6, depending on how many seeds I have. ONLY PURCHASE ONE PACKET OF SEEDS PER VEGETABLE/FRUIT/FLOWER!!! Trust me, one packet is more than enough to grow what you need. Unless of course you are beginning a garden that is an acre large. Place the seeds in your pot, and spread them out the best you can. Not all of the seeds will emerge, and eventually, you will "thin" out the growing seedlings to allow the one or two dominant plants to fully grow, but that doesn't come until the plants grow a second set of leaves.
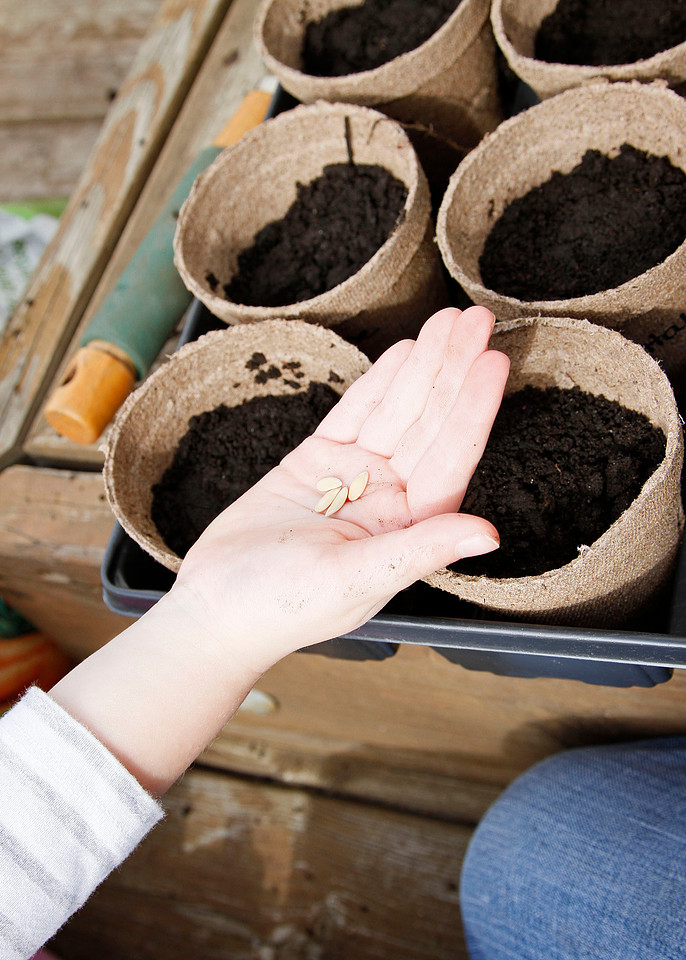
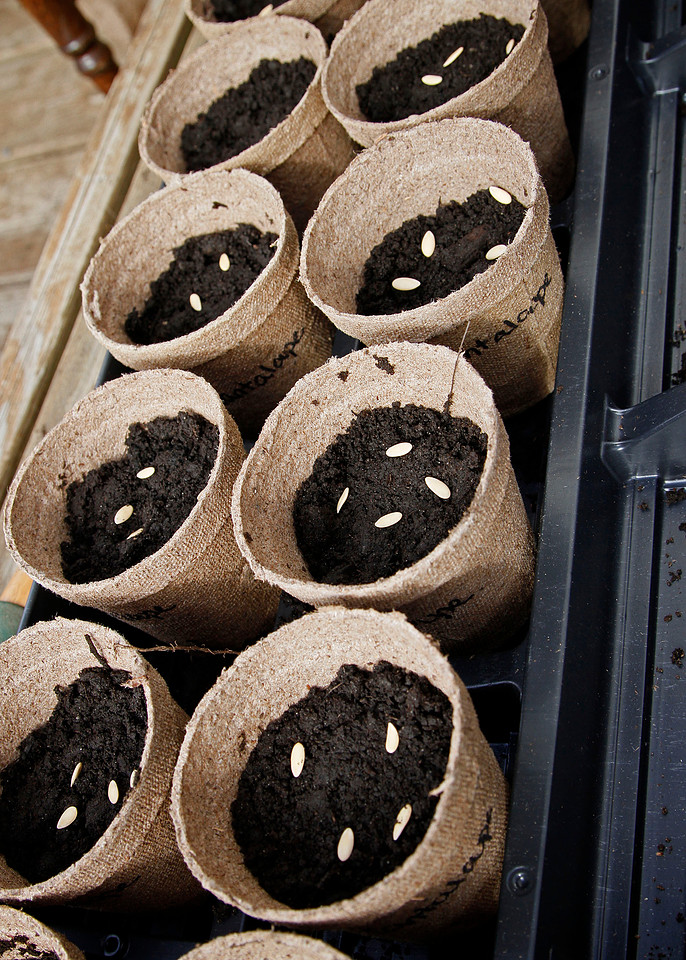
5. Again, solicit your expert helper, and let them continue to demonstrate those expert-dirty-kid skills! Make sure to double check your label for how much dirt to place, but don't get too technical with making sure it is spot on--the seeds will grow. Pack the dirt lightly after you bury the seeds.
6. Label, label, label! There are many ways to label, I sometimes write on the pot with a sharpie, and I like to use giant sticks to label as well so I can see them easier. If you don't label, you will probably forget what you put in each pot, trust me, you will forget. If you run out of containers to store them in, use planters, or as my husband suggested, an old baking sheet.
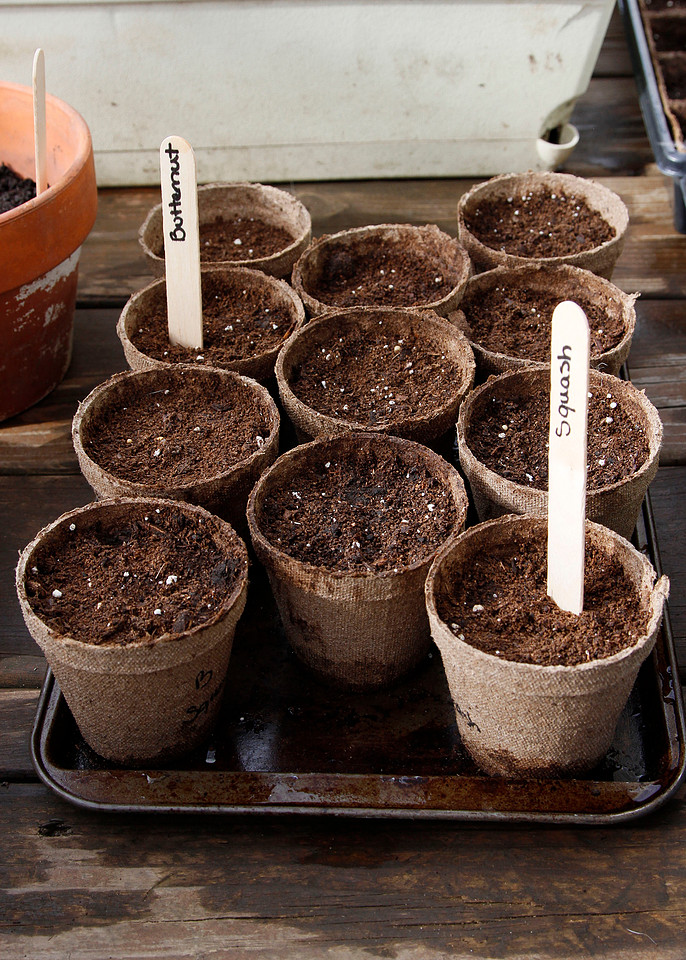
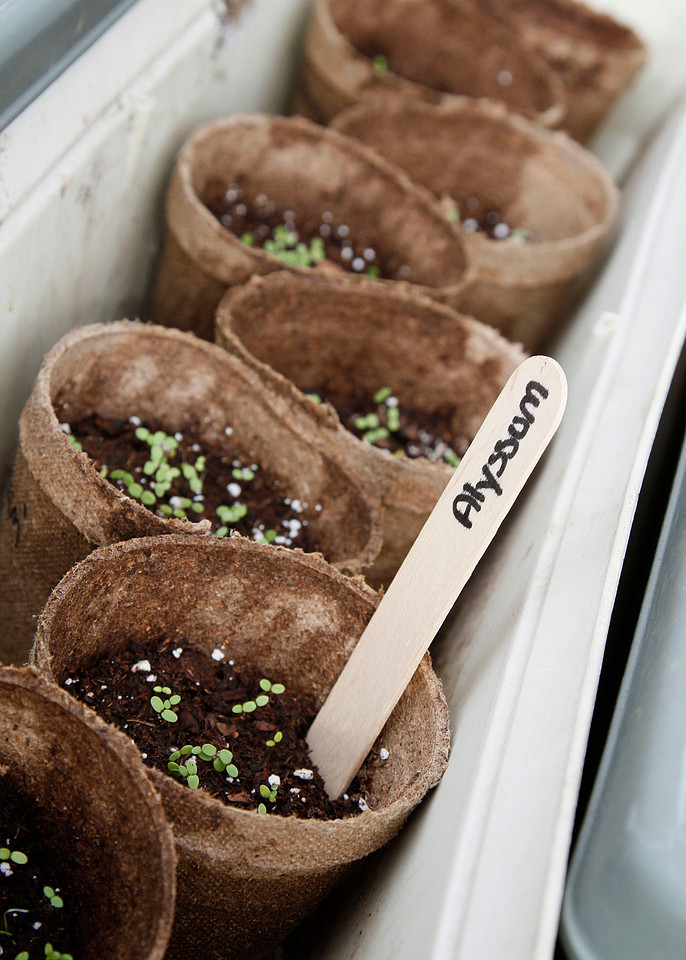
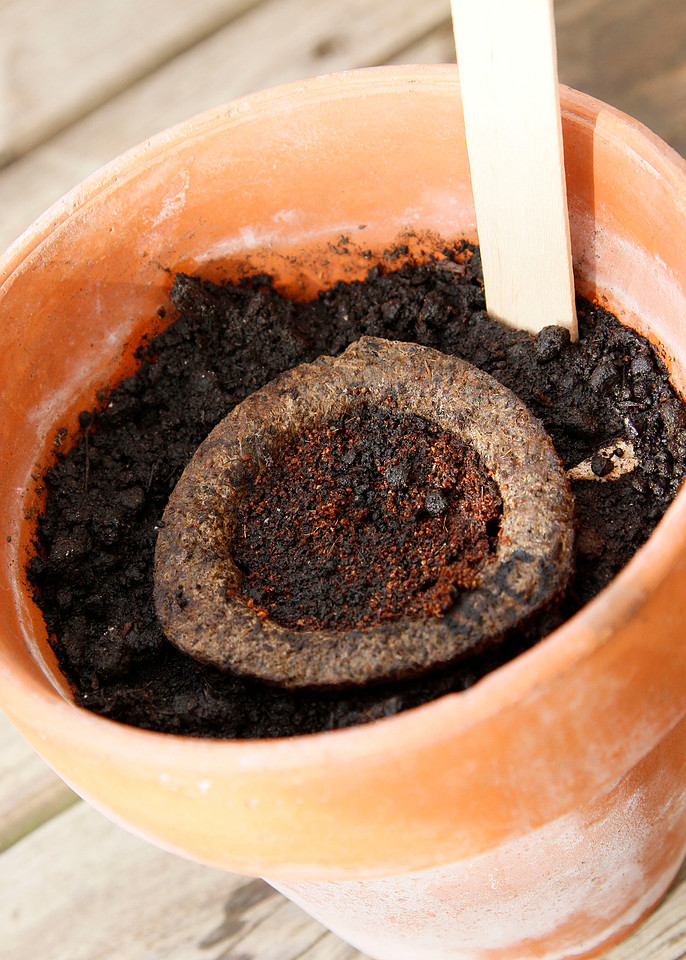
7. Alternate options are available for planting. Many herbs come in these little pods, all you have to do is peel off the top, and push them down into the dirt until they are flush with the top of your soil. I discovered these at Home Depot this year, so I am giving them a try! Also, when growing herbs, just do one or two pots worth for each herb. They grow back after you trim what you need, so you will usually have a continuous supply to work with!
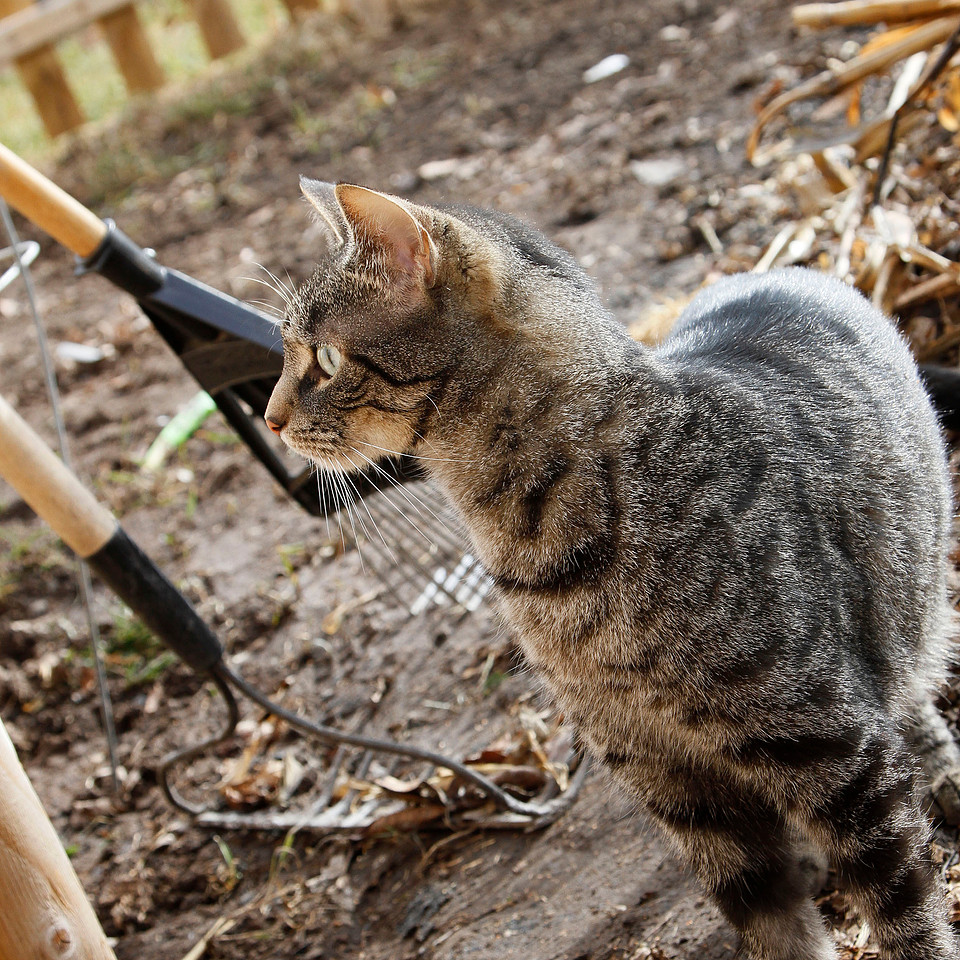
8. Invest in a good cat, one who isn't afraid to chase off rabbits, and keep mice and mole numbers down. Pictured here is our indoor cat, Oliver, who runs at the sight of rabbits, and is scared of any light to moderate noises. In this picture, he noticed a bird, who terrified him enough that he ran into the house. However, we have invested in a second cat, Oreo, who is a champion mouse hunter. (It's o.k. Oliver, you just need to be pretty)
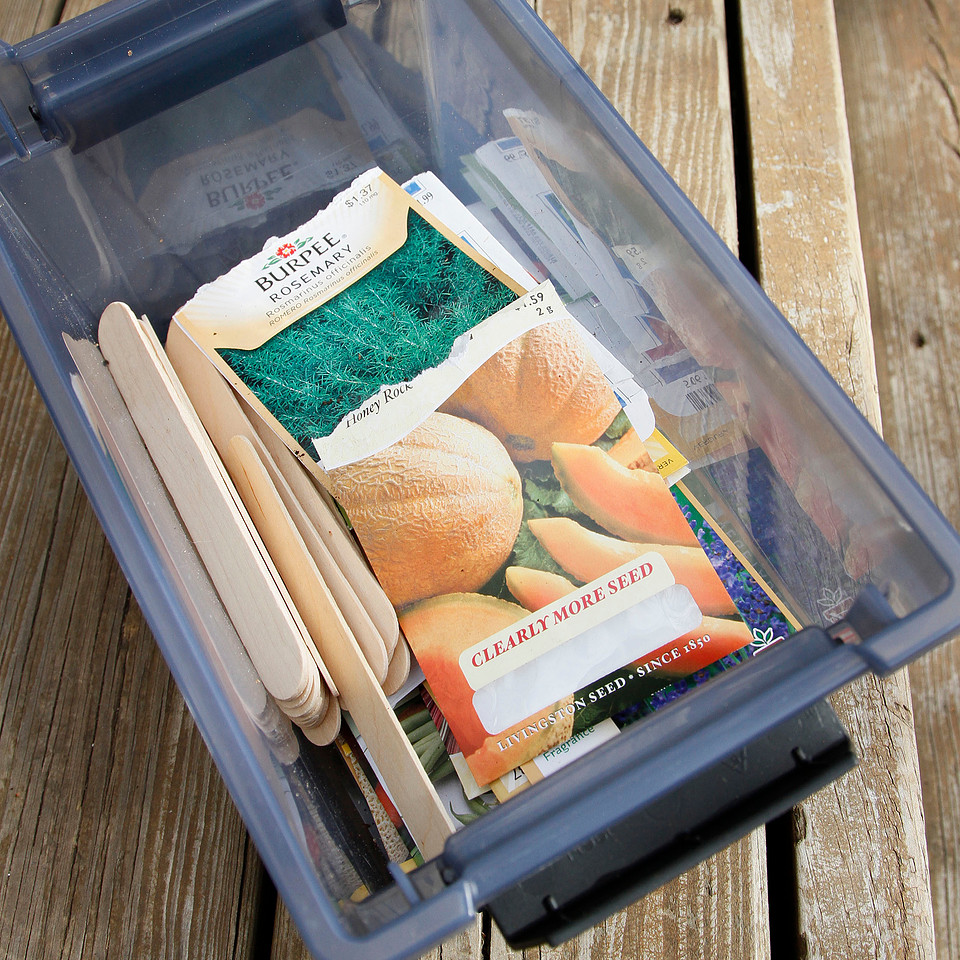
9. Save your packages! I have a little container with a lid to keep all my seed packets in after I plant. I write on them the time I planted into the pots, so I remember for next year. If, for whatever reason, the plants don't do well, I know exactly what not to buy next year!
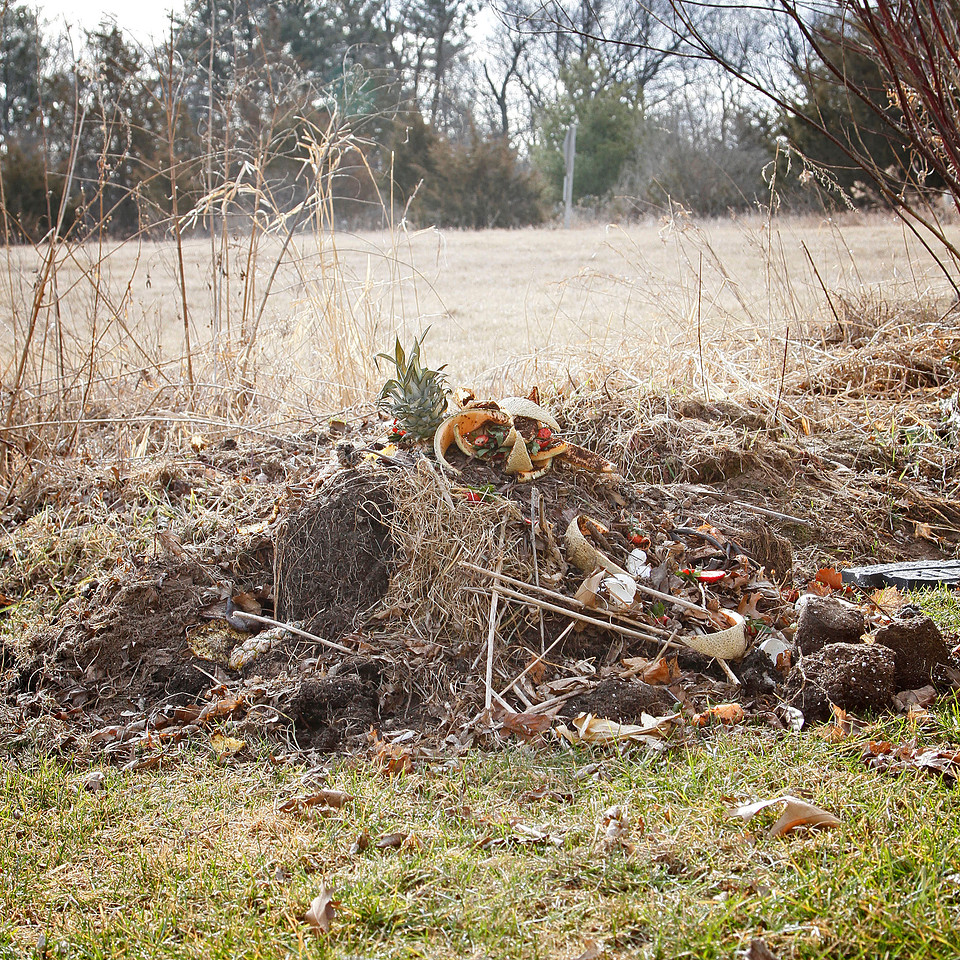
10. Start your fall compost pile! Fall and Spring are the best times to apply compost or fertilizer to your growing area. We just began a compost pile this spring, and it already is piling up for use this fall. Any rinds, vegetable or fruit peelings, coffee grounds and disposable filters, dead plants, and egg shells can be thrown onto your compost pile. Compost piles should be a good mix of dirt, paper products that are safe for decomposing (i.e. coffee filters, thin cardboard), dead plants or straw, and vegetables and fruit scraps. Throw whole spoiled fruits and vegetables into the pile as you have them, they will provide valuable nutrients to your compost. Mix periodically, but not too often, once ever couple of weeks should do, and nature will do the rest!